
Did you make it larger?
Compare the original pixel width with the new width. If a 700-pixel image became 1400 pixels, the software had to invent intermediate pixels.
Seven different problems can produce the same soft-looking result. The useful question is not “which quality setting should I raise?” It is where did the detail disappear?
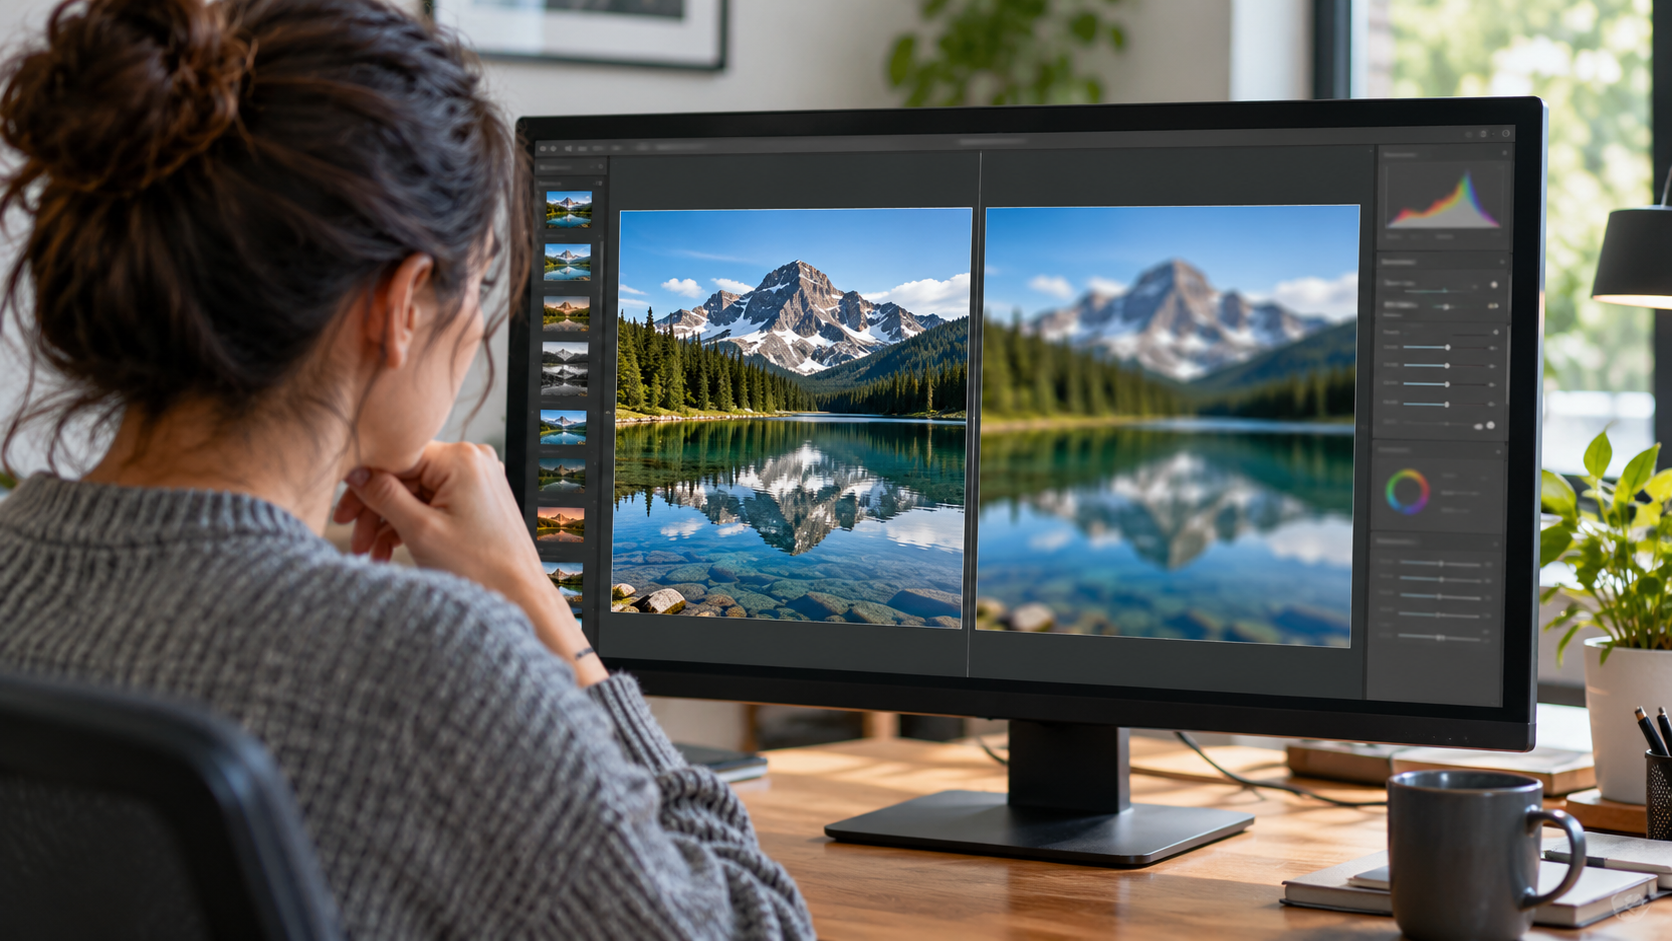
Do not resize again until one of these three checks points somewhere.
Compare the original pixel width with the new width. If a 700-pixel image became 1400 pixels, the software had to invent intermediate pixels.
Screenshots, messaging-app downloads, social-media copies and repeatedly saved JPEGs can arrive with damage before resizing even starts.
Open the downloaded file by itself. If it is sharp there, stop editing the image. The page may be stretching a smaller resource.
Blur is not one failure. Follow the route from the source file to the screen and the cause usually becomes obvious.
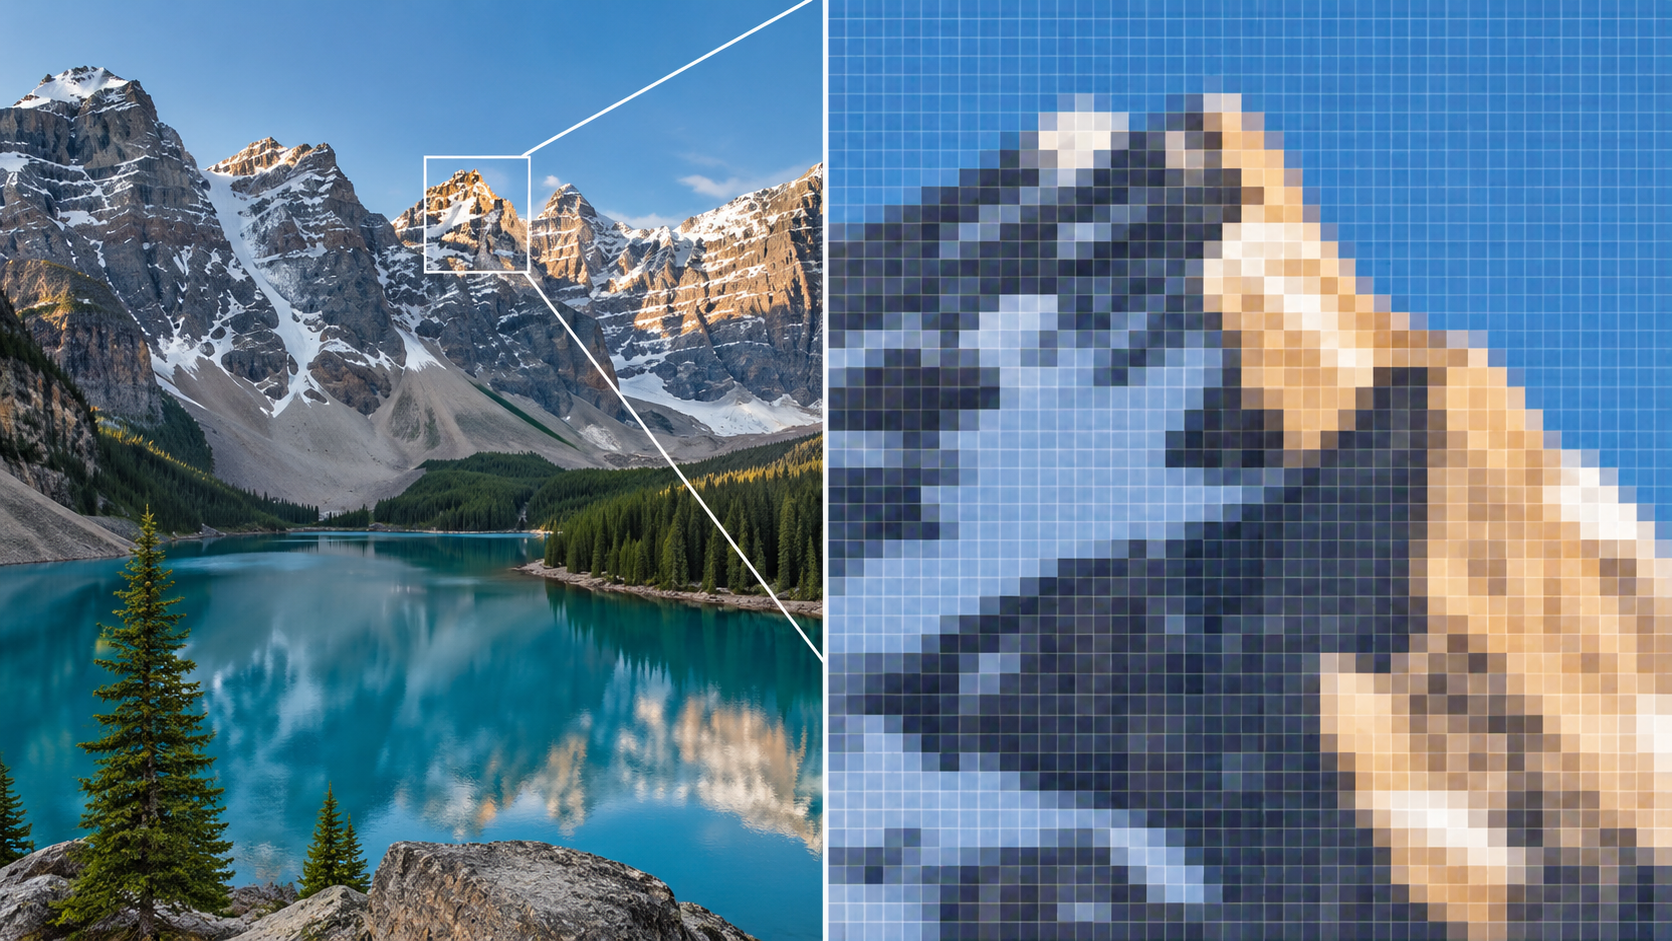
JPEG, PNG and WebP photos are pixel grids. Upscaling creates a larger grid by estimating new values between existing pixels. The result can be smoother, but it cannot reveal eyelashes, fabric fibres or lettering that were never captured in the source.
Best move: return to the largest original and resize downward whenever possible.A file can have plenty of pixels and still carry compression damage, missed focus or screenshot softness. Resizing exposes that weakness; it does not create it.
Use the camera original or highest-quality master.2400 → 1600 → 1200 → 900 forces several rounds of resampling. Build every final size directly from the untouched master instead.
One master. Multiple direct exports.Resizing changes dimensions. Compression decides how much visual information the encoded file keeps. A correct resize followed by an aggressive JPEG or WebP export can soften hair, foliage, thin product edges and small text.
Open the actual downloaded file at 100%. Do not judge only from the editor preview.A page may request a thumbnail or medium image and let CSS expand it into a larger slot. The media library can look fine while the page itself looks soft.
Compare intrinsic width with displayed width.A 600 CSS-pixel slot on a 2× display can benefit from a source around 1200 physical pixels wide. Responsive image markup exists partly to serve an appropriate resource for that situation.
Important web images need responsive source sizes, not one tiny file.Browsers and editors normally smooth raster images when rendered dimensions differ from natural dimensions. At odd zoom levels, that interpolation may look softer than the same file viewed at 100%.
Judge the final file at its real output size before changing it again.When software makes a raster image larger, it calculates new pixels from the ones already present. Different interpolation methods can produce cleaner or rougher edges, but none of them knows the texture that the camera failed to record.
A useful workflow removes guesswork before it adds another quality slider.
Camera original or highest-quality export. Avoid a thumbnail, screenshot, message attachment or web download if a better source exists.
Know the required width, height or layout slot before touching the file. Random dimensions create random compromises.
Lock the aspect ratio unless deliberate distortion is the goal. Stretching is a separate failure from blur.
Create each required size from the master. Do not use the 1200 px copy to manufacture the 900 px copy.
Inspect the downloaded file at 100%, especially edges, eyes, text, foliage and gradients.
Before creating another export, separate file quality from display quality.
Is a thumbnail being stretched?
Does the page offer a larger srcset candidate?
Is the source large enough for a high-density display?
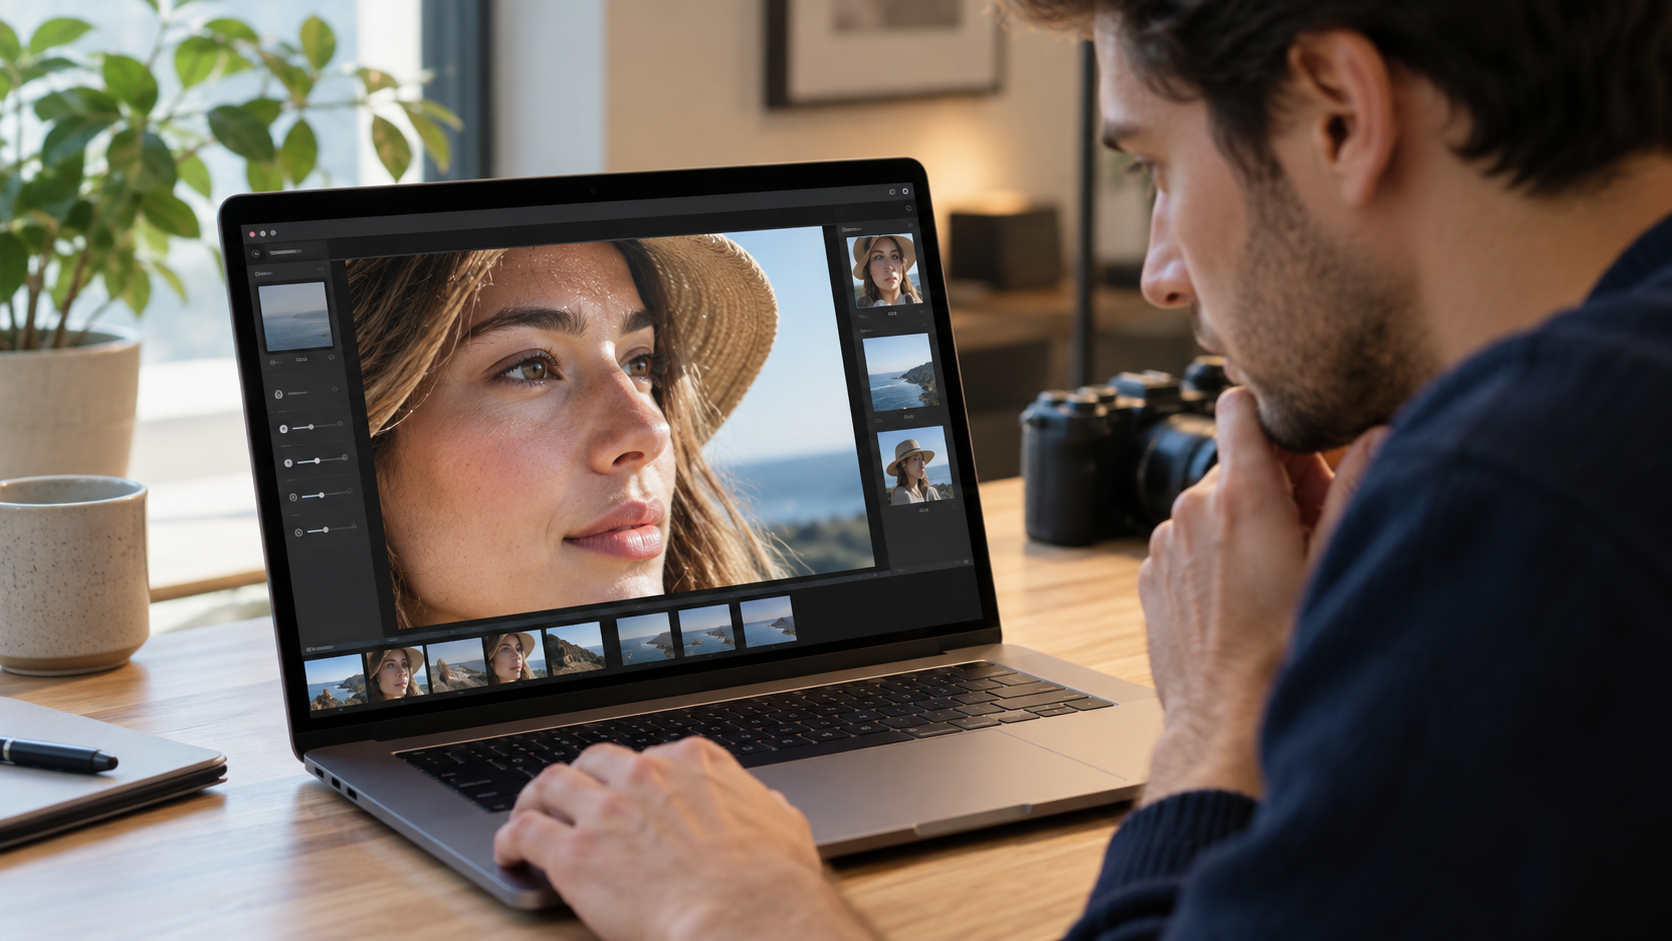
If it is sharp by itself and soft only in the layout, another image edit may make the problem worse rather than better. Inspect the HTML/CSS image size and the resource the browser actually loaded.
It can become larger and smoother. A normal resize cannot restore the genuine detail of a native 1600-pixel source.
No. PNG can avoid another lossy JPEG save, but converting the container does not rebuild detail already lost.
No. Mild output sharpening can help some downsampled photographs; too much creates halos and brittle edges.
Browser behavior and responsive-image guidance are referenced from MDN rather than copied from generic image-editing blogs.